KOREA
KOREA ENGLISH
 CHINA
CHINA JAPAN
JAPAN
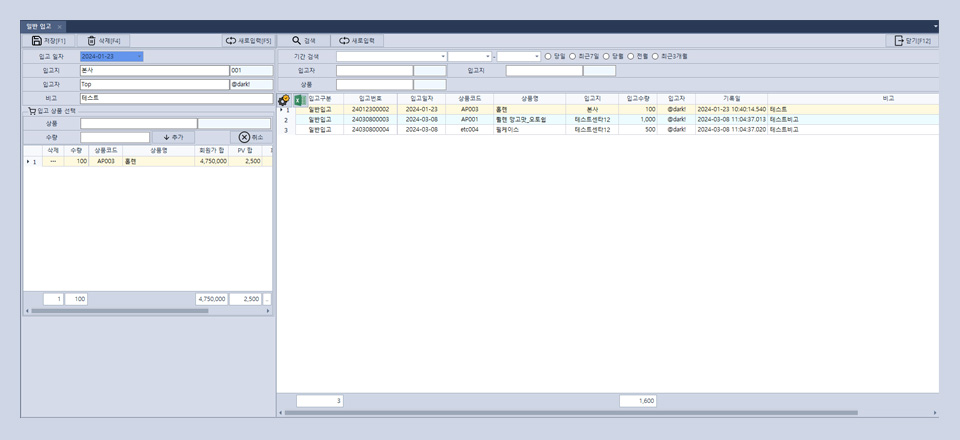
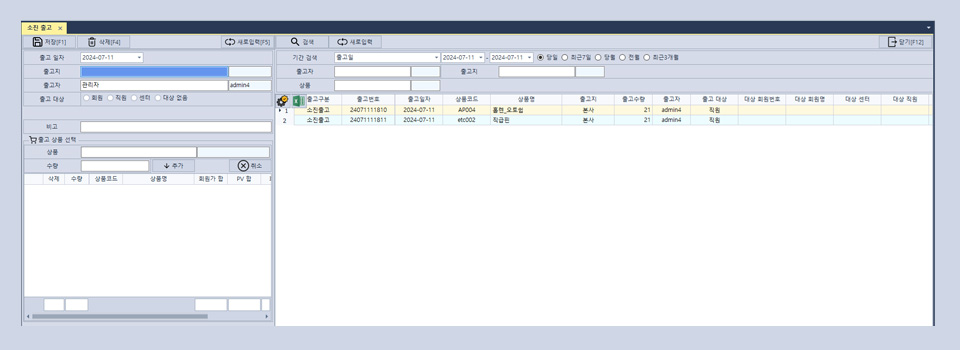
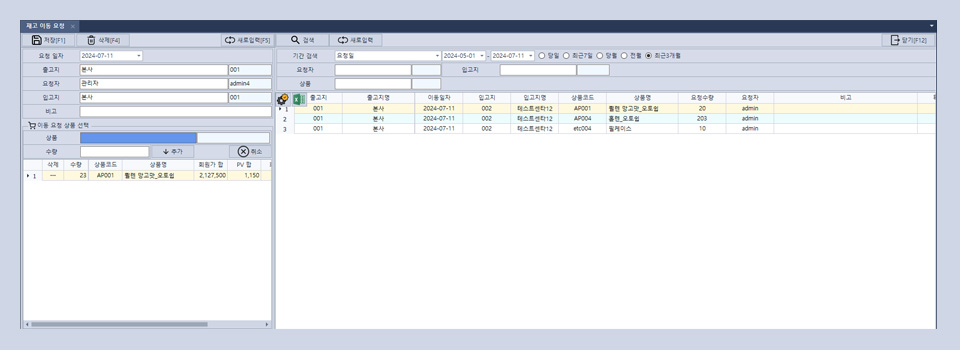
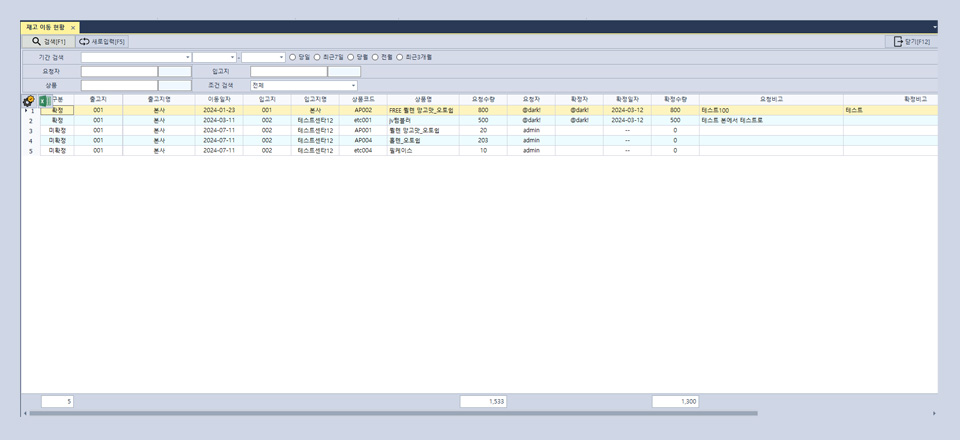
1. General Stock In
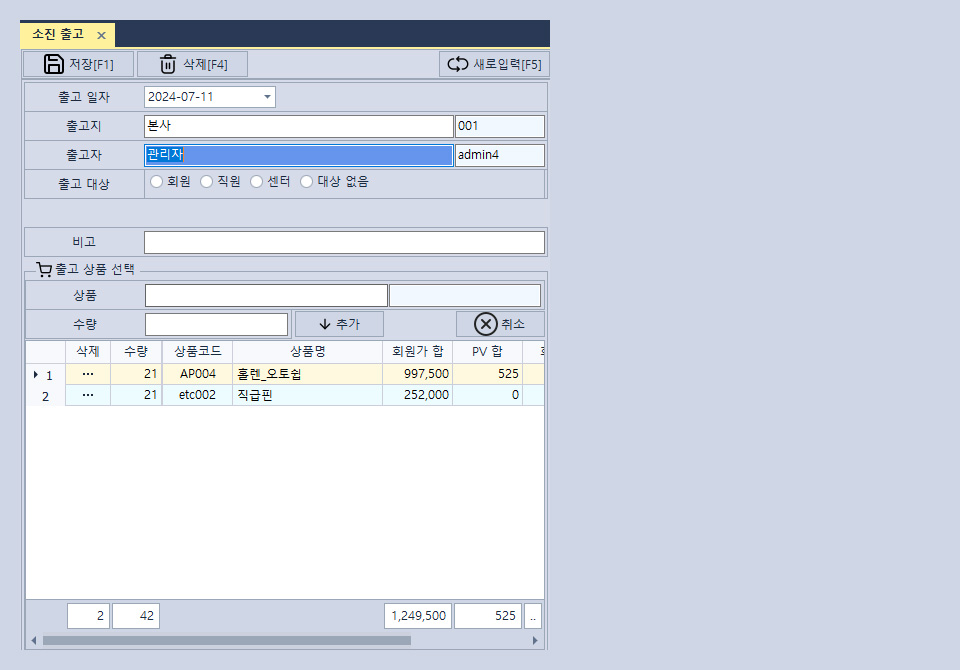
- A.After entering the stock-in location and stocker, select the stock-in products and press save (F1) to process the stock-in.
- B.If you wish to modify, double-click the product to be modified, make changes on the left, and press save (F1) to save.
- C.If you want to delete, double-click the product to be deleted, press the delete (F4) button on the left to delete.
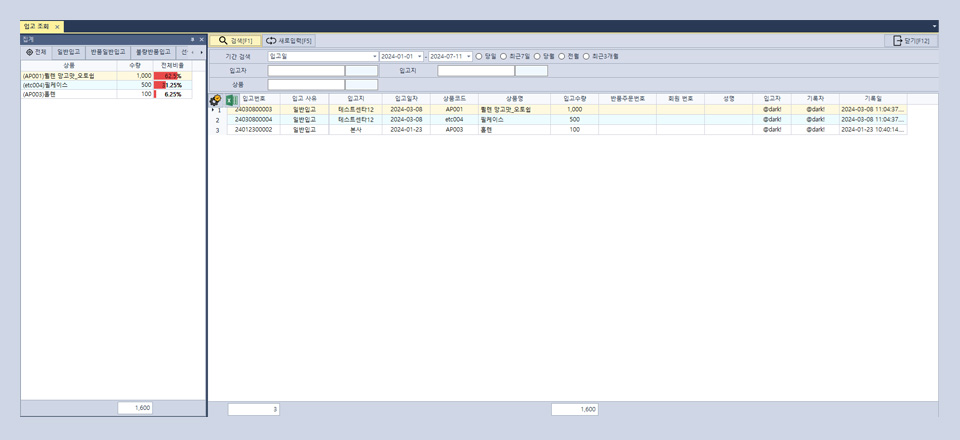
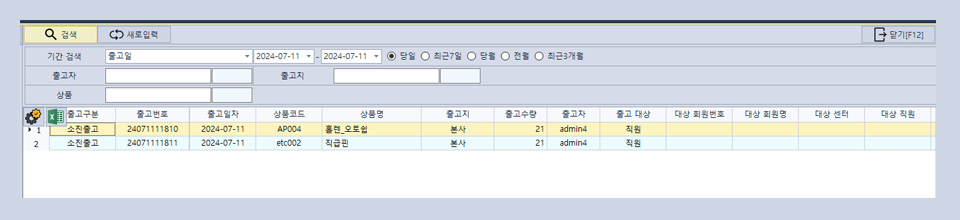
- D.You can also check the stock-in records through period search.